Food Blog Lightroom Presets
- Download instantly - Unlimited Access

This Pack of 13 food blog for desktop Lightroom presets and photoshop will take your images to the next level. Enhance your portraits and speed up your workflow with our professional Lightroom presets. Our presets are developed to enhance food photography of your photos & speed up your photo editing workflow.
You are provided with different food presets that allow you to create the perfect look for your beautiful photos, complement the story of your images, and make them more WOW!
WHAT'S INCLUDED IN THE PACKAGE:
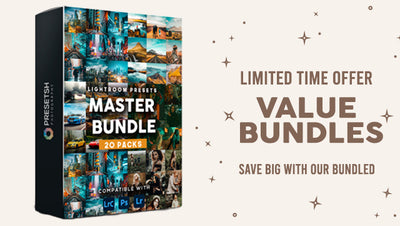
- 13 Premium Lightroom Presets & 13 Presets Photoshop
- 2 Help PDF file
- Edit like a pro and create stunning images, and the results is awesome
- Professional and unique result achievable in one click
- Compatible with both Mac and PC.
- Installation Instructions are included.
- Compatible with Lightroom 4.0 and higher.
- Instant digital download after purchase
The great features:
✔ Lifetime purchase protection & FREE Product Updates
✔ Edit high-resolution edit within seconds
✔ Easy to use for everyone
✔ Trendy aesthetic and creative look
WHY TO CHOOSE LIGHTROOM PRESETS CREATED BY PRESETSH?
- Presetsh® Our variety of Packs Lightroom presets, Lightroom mobile & Adobe Camera RAW presets includes a huge choice of options this is because they are of the highest quality and their diverse nature makes professional photos for photographers and bloggers!
- Our Presets for Lightroom is guaranteed to give you gorgeous edits!
- We goal is to make photography simple & accessible to all photographers, from beginners to professionals, and save your time
170k+ HAPPY CUSTOMERS AROUND THE WORLD! 🏆
START EDITING LIKE A PRO
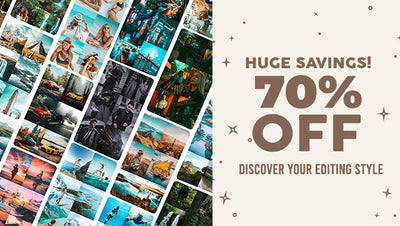
Discover 1000s of custom Lightroom Presets. Shop for Influencer minimal looks, travel blogger effects, clean light styles, and much more. Buy desktop and mobile presets on presetsh!
BY PRESETSH®
✓ Premium Quality. Our presets are handcrafted with heartfelt intention by a professional photographer. We create efficiently presets that will help you simplify your editing workflow and We wanted to make the editing process creative, unique, and quick
✓ Customer Service - We're here to support you every step of the way! If you have any questions at all, feel free to send us a message and we'll get back to you as quickly as possible.
✓ Thousands of 5-star reviews. We are so grateful for all the messages from happy customers from all over the world. Thank you!
We're also here to help! If you have any questions about installing, you can contact us via email hello@presetsh.com and we'll get back to you ASAP!
✓ Works With The Free & Paid Lightroom App
✓ Works iPhone & Android
✓ Works With All Lightroom Desktop Versions
✓ Works With Photoshop ACR
✓ Works With Mac & PC
✓ Works With JPG & RAW
HOW DOES IT WORK? Step-by-step instructions How to install
If you have any questions, please contact us and we'll be happy to help.
Don't forget to tag @presetsh and use our hashtag #presetsh on your edited pictures so we can see them and feature them on our profile!